e’s a detailed recipe for Peanut Butter Balls (a no-bake classic treat) followed by a FAQ section to answer common queHerstions about variations, storage, and troubleshooting.
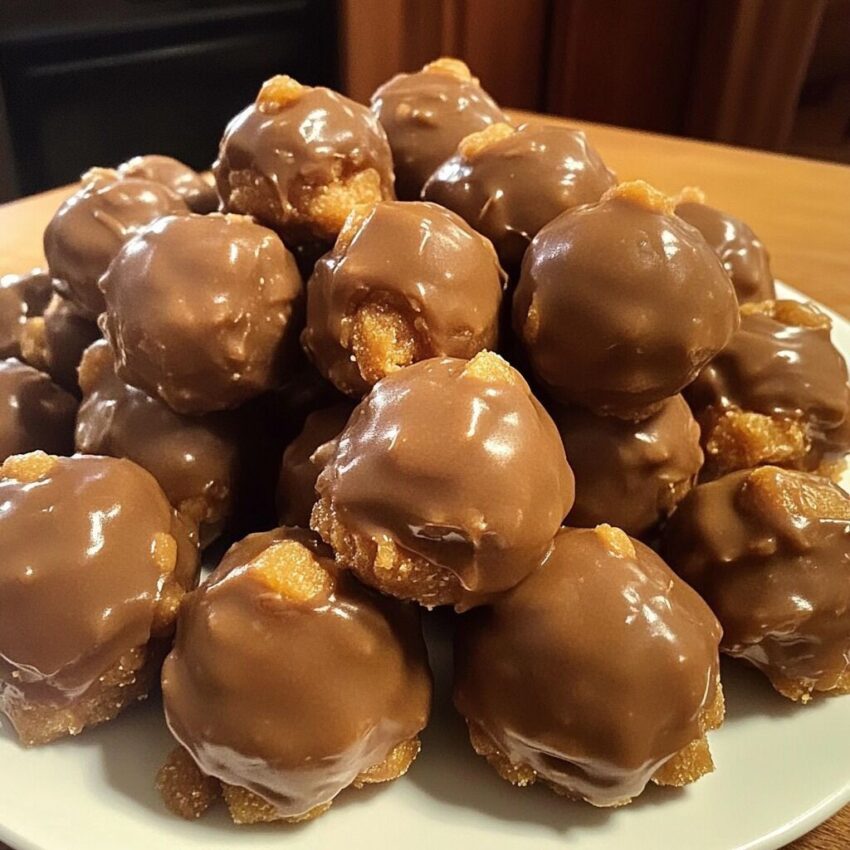
🍫 Peanut Butter Balls Recipe (No-Bake)
📝 Ingredients:
- 1 ½ cups creamy peanut butter (preferably no-stir, like Jif or Skippy)
- ½ cup unsalted butter, softened (1 stick)
- 1 tsp vanilla extract
- ¼ tsp salt (skip if peanut butter is salty)
- 3 – 3 ½ cups powdered sugar (also called confectioners’ sugar)
- 2 – 3 cups semi-sweet or milk chocolate chips
- 1 tbsp coconut oil or vegetable shortening (optional, for smoother dipping)
🍴 Instructions:
Step 1: Prepare the Peanut Butter Filling
- In a large mixing bowl, combine the peanut butter, softened butter, vanilla extract, and salt.
- Mix until smooth and well-combined (use a hand mixer or wooden spoon).
- Gradually add powdered sugar, 1 cup at a time, mixing until a thick dough forms.
- The dough should be stiff but moldable like Play-Doh. Add more sugar if it’s too sticky.
Step 2: Shape the Balls
- Scoop out about 1 tablespoon of the mixture and roll into balls with your hands.
- Place each ball on a baking sheet lined with parchment paper or wax paper.
- Chill in the refrigerator for at least 1 hour, or in the freezer for 30 minutes, until firm.
Step 3: Melt the Chocolate
- In a microwave-safe bowl, melt chocolate chips with coconut oil in 30-second bursts, stirring in between until smooth.
- Alternatively, melt over a double boiler on the stove.
Step 4: Dip the Balls
- Using a fork or toothpick, dip each peanut butter ball into the melted chocolate, allowing excess to drip off.
- Place back on the lined tray.
- Optional: Top with sprinkles, crushed peanuts, or sea salt before the chocolate sets.
Step 5: Chill and Set
- Refrigerate the dipped balls for 15–30 minutes until the chocolate is set.
- Store in an airtight container in the fridge or freezer.
🧊 Storage:
- Fridge: Up to 2 weeks in an airtight container.
- Freezer: Up to 3 months. Let thaw for a few minutes before eating.
❓ Peanut Butter Balls FAQ
Q1: Can I use natural peanut butter?
A: You can, but results may vary. Natural peanut butter (the kind with oil separation) can be too runny or oily, so the balls might not hold together as well. Use a thicker natural brand or stir very thoroughly and refrigerate the dough before shaping.
Q2: Can I make these without butter?
A: Yes! Substitute butter with:
- Coconut oil (for a dairy-free version, but it may make the balls softer)
- Or increase peanut butter slightly and use a little milk or non-dairy milk to help with consistency.
Q3: Can I use crunchy peanut butter?
A: Absolutely! Crunchy peanut butter adds a nice texture. Just ensure the mixture still holds together well.
Q4: How can I make these vegan?
A: Use:
- Vegan butter or coconut oil
- Dairy-free chocolate chips
- Ensure powdered sugar is vegan (some are processed with bone char)
Q5: Why are my peanut butter balls too sticky or too dry?
A:
- Too sticky: Add more powdered sugar gradually.
- Too dry/crumbly: Add a tablespoon of milk or more peanut butter.
Q6: Can I make these with other nut butters?
A: Yes! Almond butter, cashew butter, or sunflower seed butter all work—just adjust the powdered sugar for consistency.
Q7: Can I skip the chocolate coating?
A: Totally! They’ll still be delicious as simple no-bake peanut butter bites. You could also roll them in cocoa powder, crushed nuts, or shredded coconut instead.
Would you like a printable or copy-paste-friendly version of this recipe, or a version tailored for kids, gluten-free diets, or keto?